Showing posts with label Casting. Show all posts

Thursday, 24 April 2014

Hey Guys, I'm Marble. Remember Me?

So the last time we talked about marble (the Imitate project) I was just about to put the smashed up test pieces back into the kiln. Since then there's been a lot of excitement and drama, fasten your seat belts!

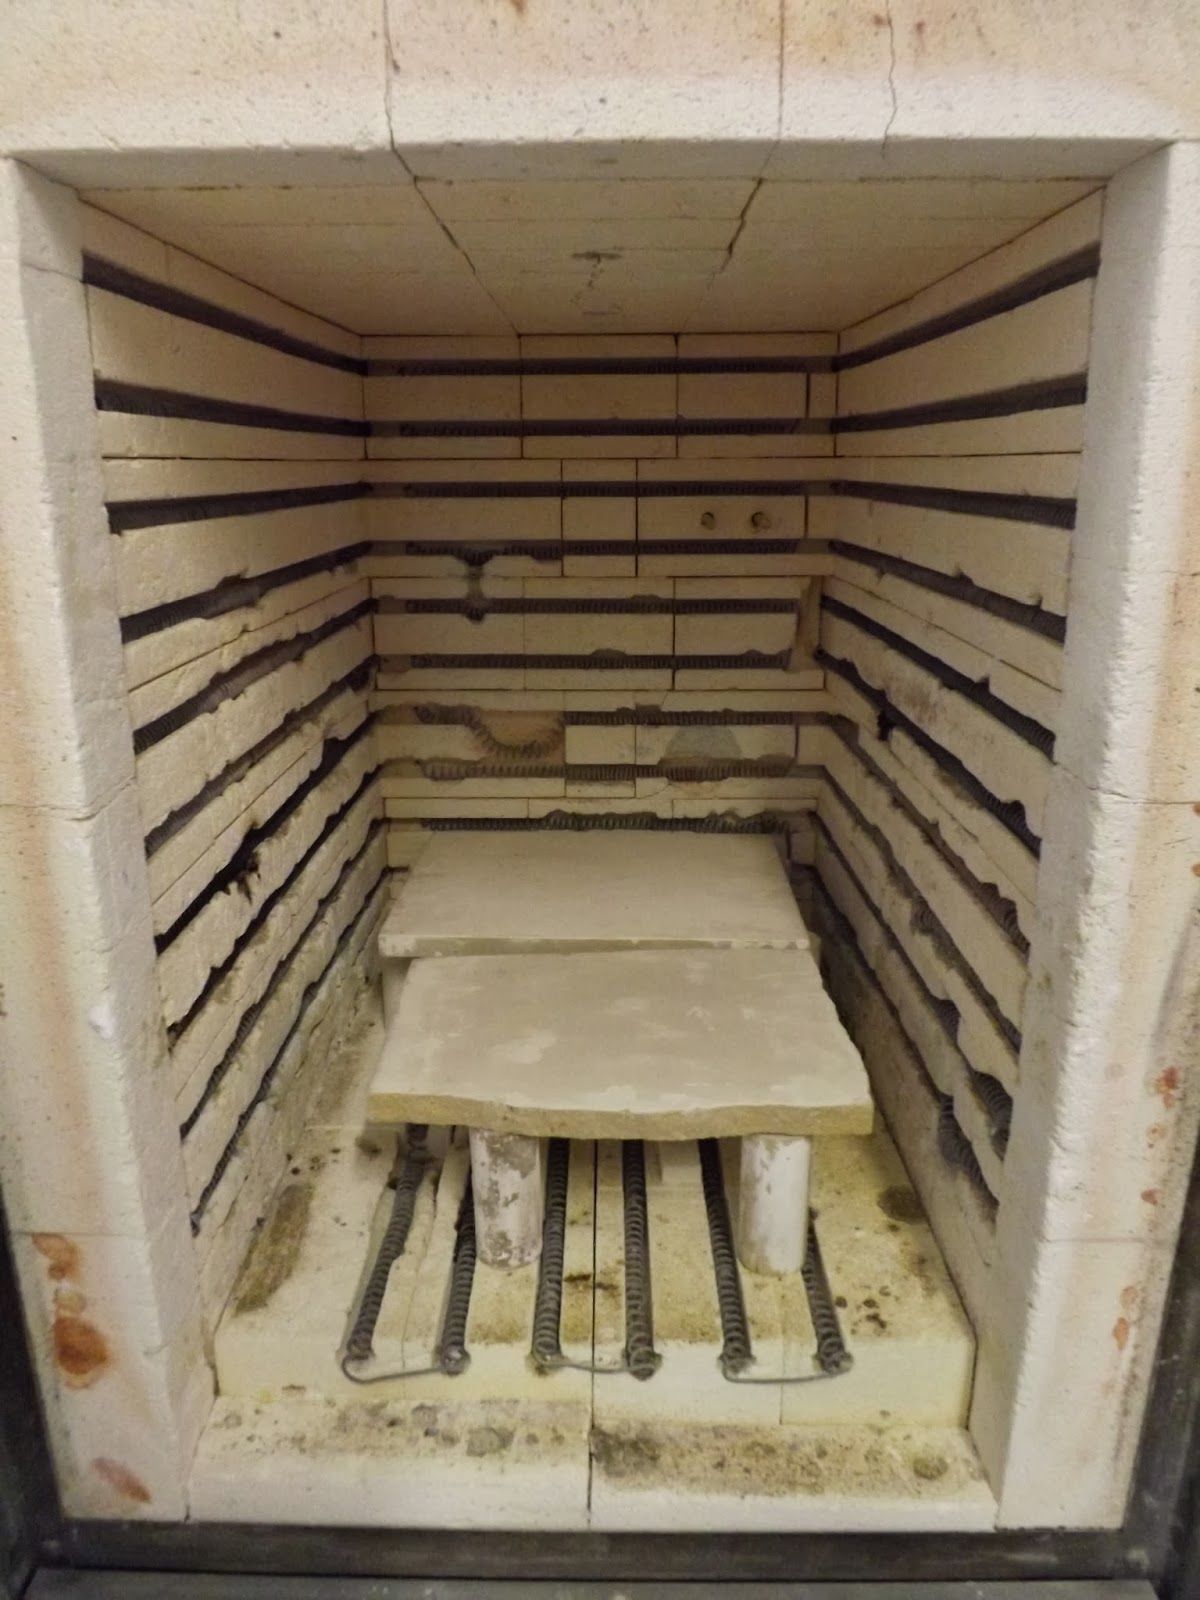
The smashed up bits did go back in the kiln eventually after many false starts (the kiln program crashed a couple of times) and when I opened it up I was really pleased with them! They hadn't yellowed at all and if anything all of the weird yellow that had came about the first time had disappeared! Magic!

At this point I was so incredibly overcome with excitement (and stupidity) that I sliced my thumb open on one of them. In all the minor drama they got mixed up and I can't really tell which is which anymore. I'm a bit annoyed about that because I had been so careful with them up until that point.

They have a really bone-like appearance to them and look more marbley then I ever expected! I'm not entirely certain how I done this, but still. Their texture is also really interesting. I've been trying to take photographs up close of it but it doesn't really come out. I'm going to try and print with them too see if it comes out at all.


Wednesday, 19 February 2014

Cast Marble: Take two

I have decided to smash up the test disks and recast them in order to make a more feathery mixed pattern with the colours. I've also made three deeper moulds so I can put the two tests of each variation in together to make them thicker. 


I know that this second firing is going to almost certainly make more of the white go yellow but I suppose I'll just have to wait and see. Mostly I'm just hoping for an interesting internal pattern when they're sawed open. 


Thursday, 13 February 2014

Cast Marble Tests Ready

My first cast tests came out this afternoon. 

I'm pleased with the way the glass has mixed within the mould. I got a little bit worried after I had already put them in that I should have been melting the glass in through a plant pot. I knew that I didn't want them to be really swirly though but I wasn't really sure what to expect. In the end though it has all went okay. 


The two on the left (a) have 15g of grey and 1g of black, the two in the middle (b) have more grey (20g), and the two on the right (c) have more black (2g). They all have 120g of white. 

Set (a). 

Set (b). 

Set (c). 
I don't really have any preference, I don't think the amounts of colour in them help to differentiate them. If I had to chose I would say the bottom cast in the photo of set (b) is the best as the colours have mixed in a more feathery (but not swirly) way.

Saturday, 7 December 2013

Coldworking Changes to Transitions

So I mentioned before I was planning on recasting a few of the Transitions pieces so I could change the way I had been coldworking them. This decision has most definitely come a bit late but you know. 


You can kind of see a little over-spill of glass on the left hand side of the piece above. Well instead of taking that off so it's completely circular from above I have decided to leave it. This will effect how they roll around (on their pointy bottoms) and will weight them so they stop in certain positions. I think this will make them a lot more playful and fun by making the most of an accidental feature. 

Transitions Photographs

I thought I might mix it up a bit by posting some photos I took yesterday of my work from Transitions. These are not the final pieces- I want to coldwork my actual final pieces slightly differently (ooh mysterious. I feel like I should do a post explaining that). 


Thursday, 5 December 2013

Polishing Plaster.. What?!

Well never in a million years did I think I would spend a full day in the studio cleaning up three plaster moulds. I must have lost my mind.

First off I filled all of the little holes the bubbles had made, then I polished all of the larger (not detailed) areas until they were lovely and smooth and shiny. Finally I cleaned up the details using fancy little plaster tools. The lines are all a bit more defined now and the spaces between them have been smoothed out. 

In theory this should increase the level of details picked up whilst reducing the amount of cold working I have to do to the glass when it's out of the kiln...

We shall see!


Sunday, 1 December 2013

Taking Plaster Moulds

I was quite looking forward to taking moulds from my silicone, not only because it meant that I was finally getting somewhere with this project but because the silicone is square so it would be nice and easy to cottle up (small victories).
Pay no attention to the leak in the bottom-left corner..
Dental plaster would have definitely been the way forward but didn't have any so I improvised (can I really call it that?) with regular plaster. The improvisation being that I didn't use flint so it wouldn't be as thick and lumpy and I could get cleaner details, and I poured it whilst it was still super watery to encourage it to get into all the little gaps. Andrea Walsh (one of our artists in residence) suggested pouring a really thin layer first and blowing it into them with the outer tube of a Biro pen- a top tip she learned during a residency at Wedgwood.
A surprising level of detail!
They actually ended up turning out okay; there's quite a lot of bubbles and some of the details did keep getting pulled off when I was removing the silicone. 

A few plaster causalities- oops!
Whilst I am actually pretty happy with how the plaster has been turning out they do need a bit of work done on them to get them all nice for casting from.

The Foam, It Lives!

Last Friday afternoon I had the grand unveiling of the silicone I took from the milled foam. No one was really sure if it would work so I wasn't exactly feeling confident, but as it turns out it was all fine!

Before and After.
There was a bit of damage around the (alleged) facial details, probably just because they were so delicate to begin with. This doesn't matter too much though as it's the actual silicone that I'm going to be needing to make plaster moulds etc. 
Marshmallow-y.
Happy days, this also ended up looking pretty good! A little smooshy though, if you know what I mean. I wasn't really 100% convinced that the plaster would get into the little gaps as they're so tiny but as ever I was full of hope!

Friday, 29 November 2013

Risky Business

Today I had the job of taking a silicone mould of the foam I milled on Wednesday. I'd never tried this before so I was a bit nervous in case I messed it up, but I was also quite excited as I was looking forward to hopefully coming away with a really highly detailed mould. 

Again I used the spray wax on the foam to hopefully help it's release but you can't really see it go on so it doesn't fill me with confidence! Although it is a square which made it super easy to cottle up, so y'know swings and roundabouts. 
Hello, down there.
Mixing the silicone up was really fun but really messy. Despite the sticky hands, I think I managed to get the right ratio of parts and all seemed to go well. It has been left out in the plaster room over night to set so when I go in tomorrow morning I can unveil my masterpiece.. (don't laugh)..

Looks tasty, probably isn't. 

Tuesday, 12 November 2013

Transitions. When Will It End?!

Whilst this project was technically over a few weeks ago I have been working on it on a smaller scale along side the current project (Otherwise Unobtainable).

At the moment I have cast (but not cold worked) the three with the palest saturation at 5%, 10% and 15%. 
5%
10%
15%
There's a few things that I'm not hugely pleased with and yet more amendments I am planning on making! The saturation of the 15% is almost identical to the test piece for 30%, so I'm worried that there won't be any gradient- let alone a smooth one! Hopefully I have enough clear glass left to do in between percentages for my last three (maybe 3%, 8% and 13%), I'll have to have a sit down and recalculate a few things!

Another slight problem is that the five percent didn't really work properly as far as fire polishing and a neat surface goes. 

Definitely not flat..
I'm not to sure why this has happened, the other two worked fine. Originally I didn't think it was too much of a big deal and I was planning on just redoing it but now that I have the wrong saturation problem I don't know if that's still possible. 

All I know is that I'm going to need a pen, some paper and a calculator to sort this all out! 


Monday, 21 October 2013

Test: Take Two

This morning my cast from my second round of tests came of of the kiln. 
30% colour saturation.
I think the longer soak at a higher temperature (2.5 hours, 820°C) has definitely helped as whilst there are a few bubbles it is a definite improvement. It's little nobble off the top (from where the glass has ran in) has also smoothed out this time. 
Goodbye, bubbles. 
This afternoon I put the first three from my hopefully final casts into the kiln- which should be out on Wednesday- using the revised kiln program. They're also in the new and improved smaller moulds. Hopefully they come out just as bubble free and smooth!

Saturday, 19 October 2013

Waiting.. Again!

On Thursday I put my kiln on again for the next test piece. I decided to only do one this time as I am happy with the colour variation (the reason for doing two before). It should be finished on Sunday but I'm not going to be able to see it until Monday morning! I think I'm even more nervous this time around as I'm not feeling one hundred percent confident with my mould, I don't know if I'm just being crazy but it didn't feel quite right (I have no idea how I can explain this to you). Hopefully it will survive and I can get on with making the final six as soon as possible. 
Smaller but hopefully stable mould. 

Wednesday, 16 October 2013

Mould Adaptations

Over the last couple of days I have had another mould making extravaganza. Whilst it was very fiddly it was also quicker as the initial waxes I was using this time were a lot smaller. This is because I have decided- in a further effort to reduce the internal bubbles- to use moulds with no built in reservoir. I had used plant pots to melt the glass in from in my tests to ensure an even mixing of colour so the reservoir just added unnecessary height between the glass and main form. Really it would have been a better way to go from the start had I of realised.. oh hindsight!

Making smaller waxes using old mould.
Cottling up was slightly more fiddly. Silly sausage fingers.
Unsightly un-steamed mould. Don't judge.
With my original sized moulds I could only fit two in the kiln but these are so small that I think when I am happy with the kiln scheduled etc I should be able to put all six in at once. Hooray!

Test: Take One

First thing on Monday morning I opened my kiln and surprisingly I was very pleased with what met me. For a start neither of my moulds had cracked. I chose to test my strongest and weakest colour gradients and I think the difference between them is very interesting and to be honest just about what I was expecting.

5% colour. 
30% colour.
There was a couple of things that I'm not entirely happy with but I am changing a few things around for my next test- which will hopefully go in tomorrow. Firstly they have quite a lot of bubbles (this is more noticeable in the darker cast) and secondly I made my mould (from the wax) slightly wonky so the tops of them are slightly askew. 

Don't panic though, to try and reduce the bubbles I'm taking my kiln up slightly higher (from 800°C to 820°C) and holding it here for an extra hour. Hopefully this will work a bit better and I will have a clearer over all cast.

Top Form

So it has just crossed my mind that I haven't really said too much about the final form I have decided to use.
Wibbly wobbly cylinders.
I also took a nice picture of my lathe turned piece today. The large base it is on is actually the reservoir and will end up being the top of the cast.

Ignore the hideous bubbles!


Monday, 14 October 2013

Kiln Me Softly

I'm sorry. I'm terrible. I couldn't help myself!

Last Wednesday I put my first test pieces in the kiln, it was very exciting as I had never really done anything like that at all! I even went as far as editing my own firing schedule, changing the annealing cycle to suit the size of my form. Thankfully they're small so it's not that long (41.5 hours) which means I will hopefully be able to make fairly quick progress. 

I decided to do two initial tests; using the most and the least amounts of colour (5% and 30%). 

Hoovered more thoroughly then my flat.
Like Jenga but not as fun.
Disproportionately large plant pots?
When I pressed 'run' I felt as though I was launching a space ship and honestly, I have never felt so much anticipation ever. I don't think I could handle the apprehension of casting on a full time basis!

Colour Gradient

An unlikely part of the project I was really looking forward to was sorting out the different amounts of glass I would need to achieve different gradients. Not wanting to bore anyone with the maths- I know it's not everyone's cup of tea- I have decided to use from 5% to 30% of colour within my casts. I know this might not seem like a lot but lime green is a pretty intense colour and I don't want it to be overwhelming. Also, I think showing the really tiny, subtleties is much more of a skill. 

25g, apparently the same as an empty water bottle.

Cups 'O' glass.

Mould Making Extravaganza

For the Transitions project we were advised by Geoff to use plaster moulds to get our waxes rather then Gelflex as they keep their shape, giving you a truer wax. I wholeheartedly agree with this but mostly because I think Gelflex is greasy and disgusting. If you've never experienced it before just think what your school Plaster-Scene draw was like.. Exactly.

When my plaster mould was completely dry I soaked it in water until the bubbles stopped- wax won't stick to wet plaster.

Timing wax shells (3 minutes).
Plunging the mould into cold water releases the wax shell, this is then neatened up- or if it is too messy just remelted.

Wax shell is stuck to a glass board.
Cottling up. Is that even a word? Who knows?!
Pour the plaster into the walls. Not on the table, floor or your shoes.
Neaten edges and remove clay.
Steam out the wax and thoroughly clean the mould. 
Now to just repeat until there are enough moulds! Surprisingly I actually quite enjoy doing this, I think maybe because it's so repetitive and I have gotten good at making them quite quickly. Small successes and all..

Wednesday, 2 October 2013

Heike Brachlow

One of my main sources of inspiration so far in this project is Heike Brachlow, a glass artist who specializes in casting. More specifically playing around with the relationships between basic forms, and colour gradients- perfect for this project!

This is not a style of work I ever thought I would like but I feel totally drawn to them and every piece I see I want to twirl them around on its angled bottom.

Careful I, 2009.
Brachlow has also recently completed a PhD- 'Shaping Colour: Density, Light and Form in Solid Glass Sculpture'- where she delved further into the art of colouring glass by mixing her own batch from scratch. Her thesis is outlined (and also available for download) on her website and is incredibly interesting. For example I had never thought about how the thickness of our glass at different points would effect the changes in colour.

Mirror Movement, 2006.
I think this is intriguing and is something that has really interested me for a while. In the past I have experimented with colouring ceramics using different glazes and glazing techniques but this is my first experience of colour glass casting. Hopefully I will be able to achieve the same kind of playful fascination in others that Brachlow's work stirs in me.

Tuesday, 17 September 2013

Transtions

This morning we got our first brief of the year. I have to admit I was dreading it a bit as I knew it was going to be casting orientated and that's just not something that has ever appealed to me. Although after reading it I'm feeling rather excited!


We have each been given 1kg of solid colour and 3kg of clear Gaffer lead crystal glass and using only this we must produce six identically shaped cast glass elements (which together must fit into a 40cm2 frame). Through them we must show a gradual change of colour saturation. They're also to be 'showcase' pieces so how we finish them and choose to display them will be very important.

Gaffer colour lead crystal. That's my lime green, I think!
I chose the lime green but the full selection included black, emerald, copper blue, amber and a really pretty pale blue which looked lavender depending upon the light. Exploring colour theory during this project is going to be very interesting as whilst lime green was my favourite colour ten years ago it doesn't appeal to me any more and it's not what I'd call aesthetically pleasing, yet for some bizarre reason I picked it up straight away and was super drawn to it.


At the moment I have some vague ideas floating around but I've not starting exploring anything in any depth. I'm pretty happy about this right now. Good start.